Installation Guide: How to Install Aluminum Backed Floor Medallions?
Table of Contents
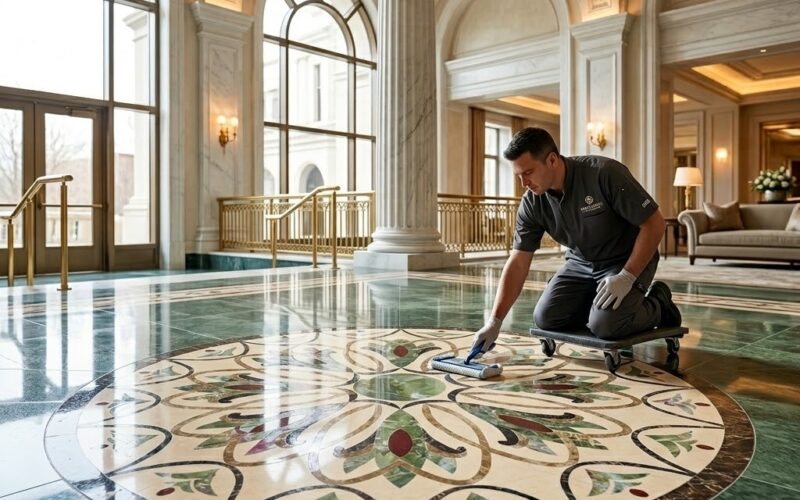
Probably, you’ve been searching for solutions or just thinking “how hard can installing a big piece be?” and let me tell you, it may be harder than you think if you don’t follow these steps! We ship marble floor medallions to luxury homes, hotel chains’ lobbies, and commercial showrooms every week, and the installation calls we get after a tricky job mostly start the same way. “It looked fine until we grouted it.” Or “the center was off by two inches, and we didn’t notice until the surrounding tiling was done.” These are fixable problems before you start, not fixable after. In this guide, whether you’re a tile expert or a curious project owner, we’ll share some tips to install floor medallions.
Before You Install Floor Medallions, Do This First
To Find The Center, You Need To Tape It Out Definitely
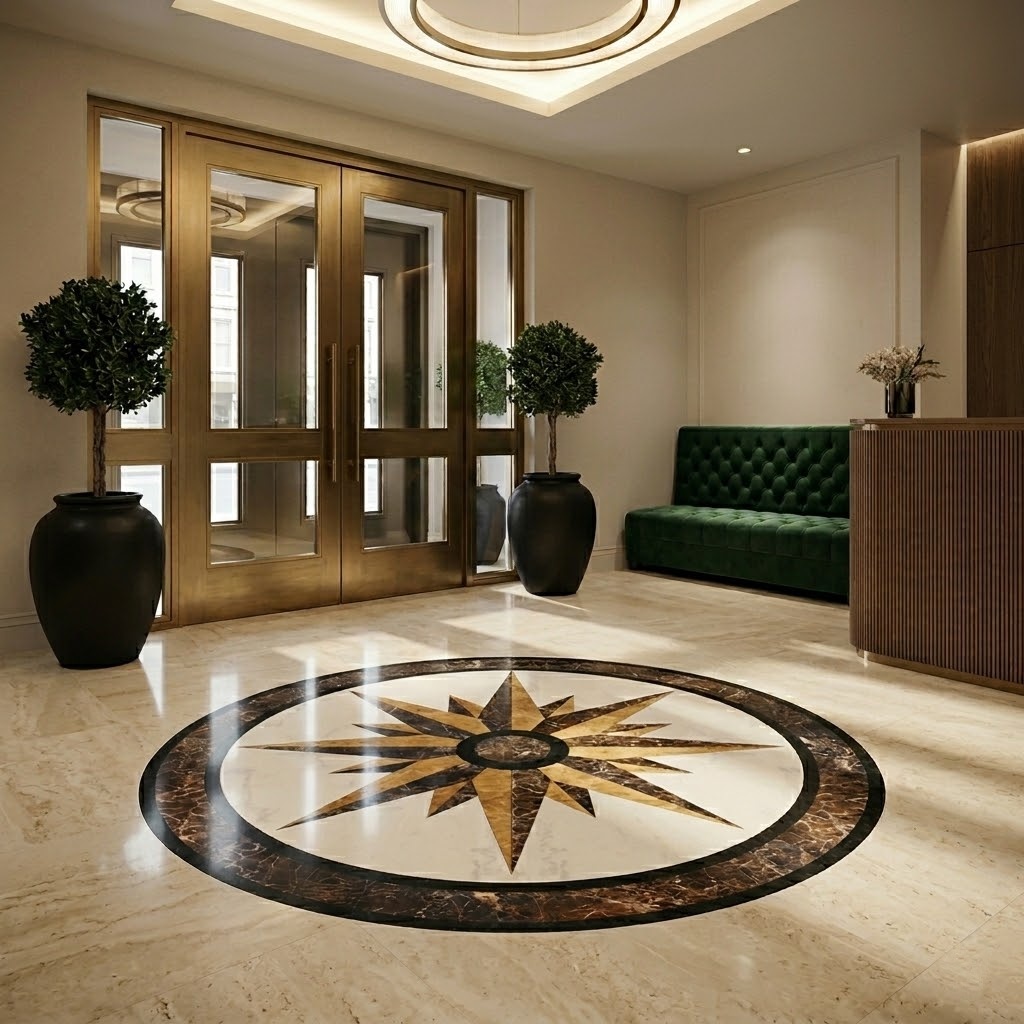
Grab a roll of painter’s tape and mark the full diameter of your medallion on the actual floor before you order anything or mix any thinset. A circle of tape in the center of your entry hall will tell you more than any 3D or AI rendering, any mood board, and definitely more than eyeballing it. Walk past it. Look at it from the front door. Look at it from the staircase. In fact, if it’s possible in your situation, keep it for a day to make sure it’s in the absolute right position.

A 60 inch floor medallion that sits two inches off the visual center of a grand foyer will bother every single person who walks in for as long as that floor exists, and nobody will be able to explain exactly why the room feels wrong (probably you’ll notice what’s wrong). The tape costs nothing compared to the fixation process, and it literally saved more projects than we can count.

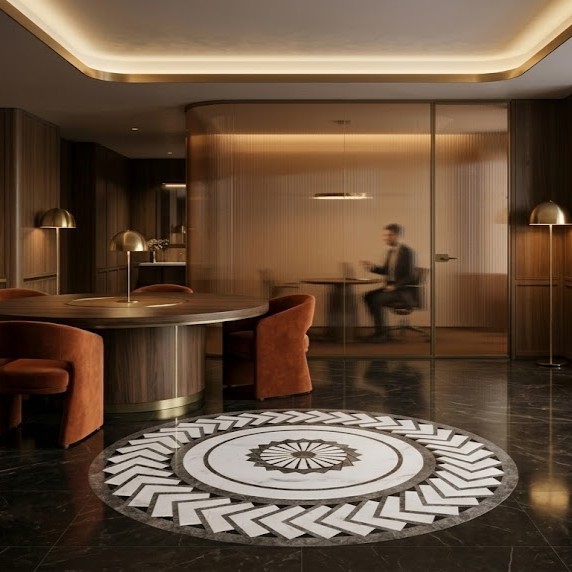
Let me share another good to know information with you: the geometric center of a room and the visual center are often different points. Door swing radius, furniture, architectural openings, where the staircase draws the eye, all of these pull the perceived center of the space. Find the visual center first, then confirm it with your measurements. Don’t place the floor medallions on the floor by intuition.
Check the Subfloor Like Your Reputation Depends On It
Because on a luxury medallion installation, it kind of does. Run a long level across the full diameter of the floor medallion area and check for lippage, soft spots, and inconsistent height. If self leveling compound is needed, apply it and let it cure completely before you do anything else.
For marble medallion on heated floor situations specifically: turn the radiant system off at least 48 hours before installation and leave it off for a minimum of 72 hours after grouting. A heated slab moving under a freshly set medallion is the kind of problem that does not show itself immediately. However, when it does show up, usually as a cracked grout line or a lifted edge, you are looking at a full removal and reset project that’ll probably cost thousands of dollars.
Take Your Notes: The Materials You Need To Have
White thinset. Not gray, not “close enough to white,” white. We have had the conversation too many times with contractors who picked the wrong bag from the truck and spent three times the original labor cost dealing with it. You can’t, but really can’t forget that a light colored marble is unforgiving and you need to be careful. A medium bed white mortar gives you the working time and the support a large aluminum backed medallion needs to be set correctly.
From a trick that I’ve given one of our tile experts, for grout, go non sanded on tight joints and match the color to the dominant stone in the medallion, not the surrounding marble floor tiles. A grout color that fights the medallion pulls the eye to the joint lines instead of the pattern. That is the opposite of what you want. The rest of your tool kit: a notched trowel in the right size for your format, a rubber mallet, a long level, a beating block, and a quality penetrating sealer. Not a topical coating. A penetrating sealer you’ll pay once, and you’ll benefit from it for many years more. And you’re done.
Setting the Floor Medallions: Which Steps Do We Follow?
Medallion First, Surrounding Floor Tiles Second
Set the floor medallion before the floor tile field. Every time, don’t mix the order here! Cut the field tile to meet the medallion edge, not the other way around. Trying to drop a large aluminum backed piece into a finished surrounding field is how you end up with inconsistent joint lines and a medallion that looks like it was placed rather than designed into the floor.
Back butter the medallion, apply thinset to the subfloor with your notched trowel, lower the piece carefully, and work it down with your rubber mallet and beating block. Check lippage across the full surface as you go and before the thinset starts to set. Aluminum backed medallions arrive as one pre assembled unit, specifically so the installer is handling a single piece with a fixed geometry rather than dozens of individual inlay segments. That advantage only holds if the setting bed underneath it is prepared properly. You’ll thank to one piece aluminum backed medallions here, since you won’t deal with little mosaic details one by one.
Cutting the Surrounding Field to Meet the Edge
A wet saw handles the straight cuts. For the curved perimeter of a round floor medallion, an angle grinder with a continuous rim diamond blade gives you the control you need. Commercial projects have mostly tight deadlines; however, take your time on these cuts. The quality of the joint between the medallion edge and the surrounding entryway floor tiles is what a person notices when someone walks into the room, and on a high end residential or commercial marble medallion installation, that joint has to be tight and consistent all the way around.
Grouting, Sealing, and How You'll Take Care
According to our experts, the right process goes like this: Let the thinset cure fully before grouting, which means at least 24 hours in normal conditions and longer in cold or humid environments. Work the grout into the joints carefully, clean the surface with a damp sponge before it hazes, and do not let grout sit on polished stone longer than it needs to.
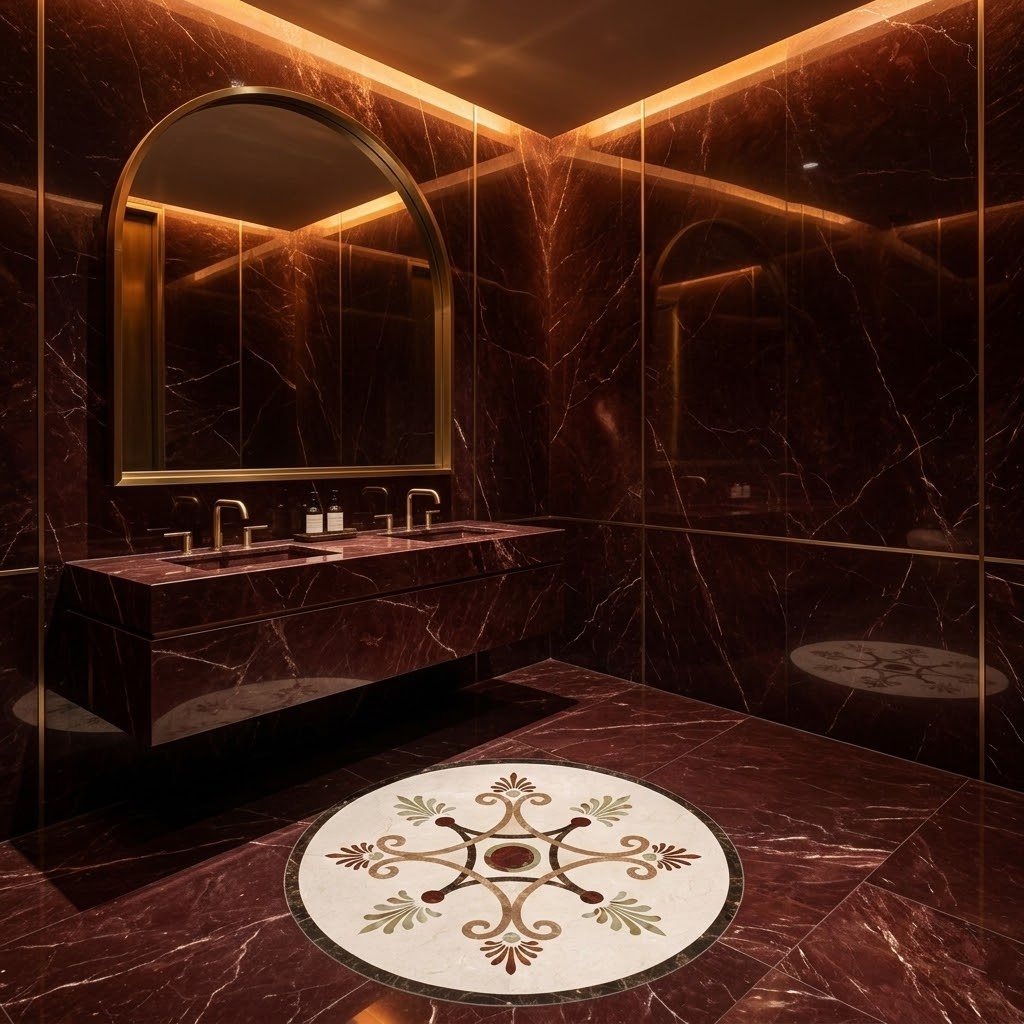
Sealing happens after the grout cures, not before, and not the same day. How to seal marble medallion surfaces the right way means penetrating sealer applied in the correct conditions and given adequate time to cure before foot traffic. For residential entryways, plan on resealing once a year. For hotel lobby and high traffic commercial tile projects, every six to eight months keeps the surface in the condition it should be in.
The Calls We Wish We Did Not Have to Get

Sometimes projects are not going well, and in those cases, we try to do our best for our clients. Here are a few frequently happening issues we’re dealing with:
- Wrong thinset color on pale marble.
- Surrounding field set before the medallion.
- Center eyeballed instead of taped.
- Sealer applied too soon.
- Heated floor expansion joint skipped.
These are the ones we hear about after the fact, and every single one of them was avoidable with twenty minutes of prep work before the job started. Now, you know what you should avoid and what you should check at first!
Ordering Floor Medallions Online Has Never Been Easier
online floor medallion ordering is a big step to take, and at Stone Tile Depot, we’d like to create a journey that doubles your brand reputation with aesthetics and quality. Bring us your room dimensions, subfloor situation, and project deadline, and we will help you get it right from the start.