


Drop Those Tiles! Read This Before You Decide on Your Backsplash Height
I know, if you’re in a phase where you’re scrolling down through Pinterest and about to find out what you’re going to be in love with, you have some questions. You have finally chosen the perfect kitchen backsplash tiles, you have the grout color picked out, and you are ready to install. But stop right there. Before you mix a single batch of mortar, you need to answer a question that most homeowners forget until it’s too late: how high should backsplash be?
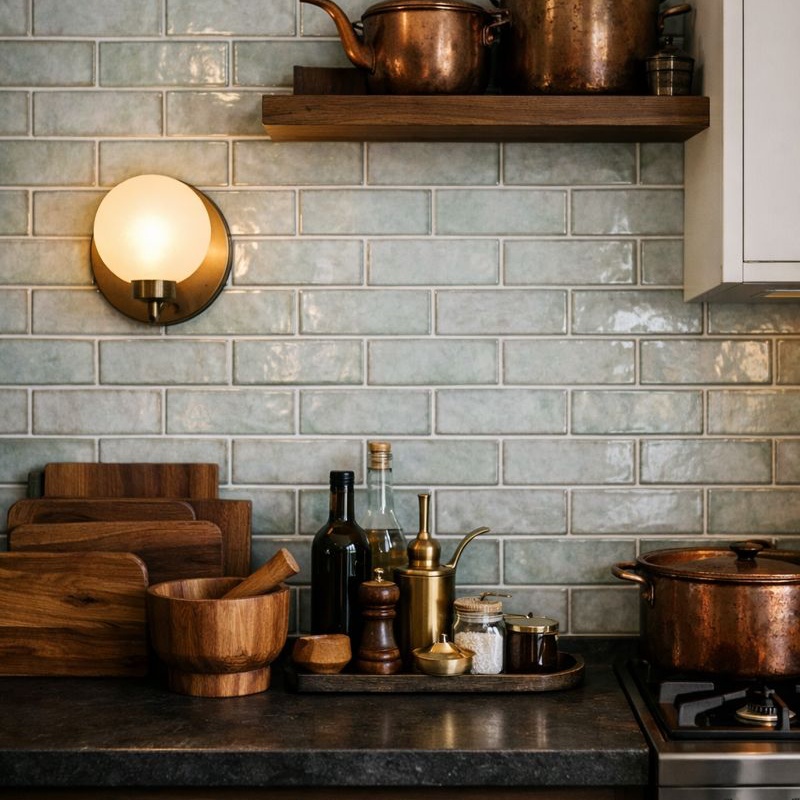
It sounds simple, but the height of your tile can completely change the look of your kitchen. Stop it too low, and it looks like you couldn’t get more, and it’s unfinished. Go too high with the wrong material, and it feels overwhelming; you’ll probably be looking for a way to get out of that kitchen. At Stone Tile Depot, we always care about your questions, and today, we’re going to talk about backsplash height.
We’ll Go For Old School: Standard 4-Inch Backsplash
Here’s a design option that’ll tell on your age. If you grew up in a house built before 2000, you know this look well. The standard 4-inch backsplash is typically made from the same material as the countertop; we mostly saw granite and quartz options, and it extends just four inches up the wall. While this used to be the norm in all of our kitchens, honest designers will tell you that it often looks like a builder grade shortcut in 2024. And, do you want me to be honest? It’s a shortcut that doesn’t look good all the time, sorry about the sad truth. It creates an awkward strip of painted drywall above the stone that tends to collect grease and dust.

However, if you are on a strict budget, this remains the most affordable backsplash option. But let me run into a contradiction with myself, if you can choose a good tile layout or a material that everybody will turn and look at the second time, then this one can be a good chance. Just an opinion.
The New Standard: Countertop to Cabinet Backsplash Height
I like tile solutions that work for everyone, are easy to adapt, and look good at the same time. This one, the sweet spot is the standard backsplash height. This covers the entire distance between the countertop and the bottom of the upper cabinets, which is usually about 18 inches. This countertop to cabinet height fills the gap just on the dose you need and protects the wall from splashes where you need it most. After that move, your walls will be very easy to clean, especially if you choose a ceramic tile backsplash.
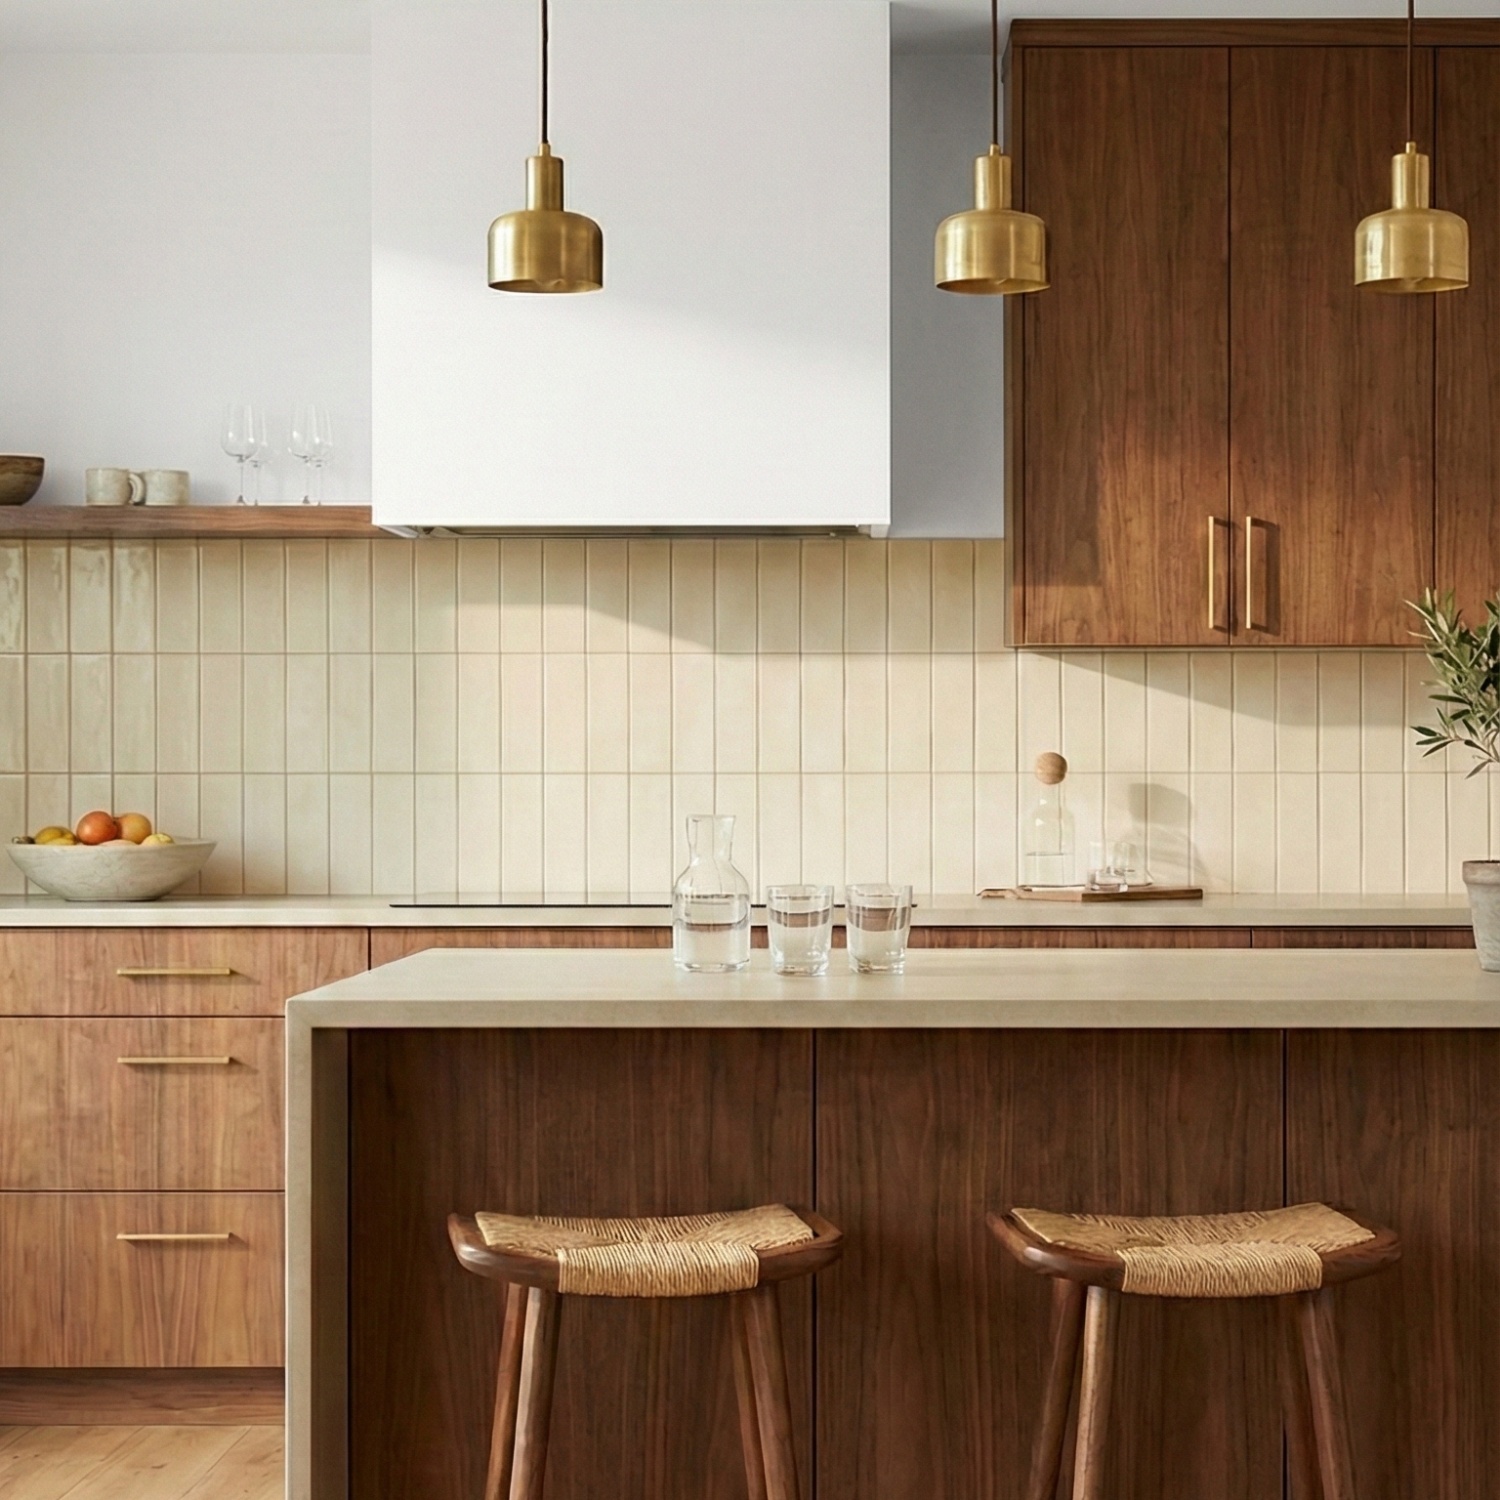
This is also where the debate of small vs large tile comes into play. In this standard 18-inch space, you have to be careful with scale. A very large format tile might look cut off or awkward in such a narrow strip, whereas a smaller mosaic tile or a subway tile fits the proportions naturally. When installing here, be very careful about where to end backsplash horizontally. The tile should align perfectly with the edge of the upper cabinet or the countertop; it should never float in the middle of the wall, as if it doesn’t belong here. That would be weird, trust me.
Let Us See Your Backsplash Everywhere: Full Backsplash Height & Ceiling
I am literally in love with this one. Especially if you’ve chosen a backsplash tile with full character, an interesting color, or shape. It just looks fantastic, maybe even more than fantastic. A full height backsplash or counter to ceiling backsplash draws the eye upward, making ceilings feel higher. And that’s a perfect pro tip if you have a kitchen that looks a little bit small. This is where you can truly play with texture, color, and material.
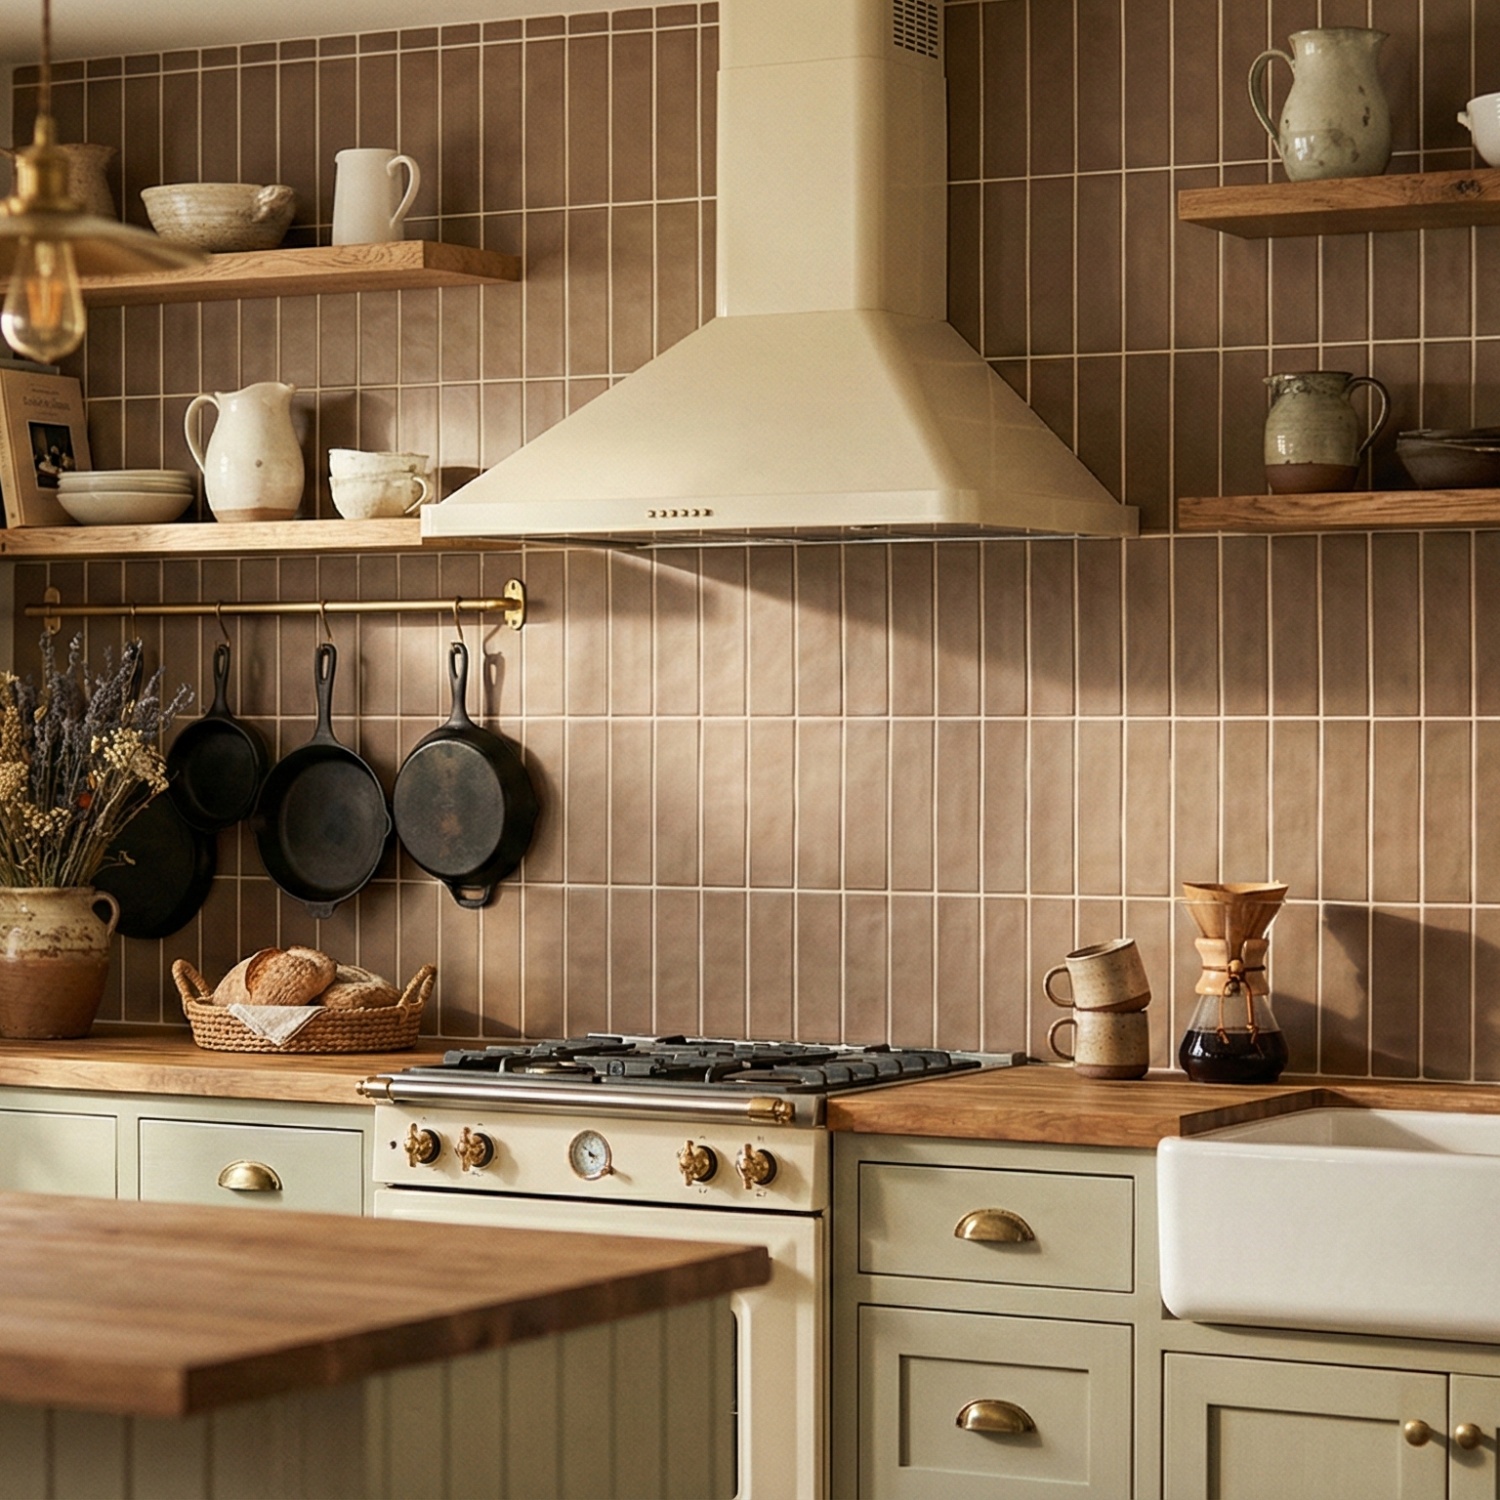
A shimmering marble mosaic tile or a bold mosaic tile backsplash looks like an art installation when taken to the ceiling. If you have ditched upper cabinets for open shelves, a full wall backsplash is practically mandatory. Tiling the entire wall behind the shelves creates a stunning backdrop for your dishes and makes the room feel custom designed, just like an interior designer made the whole kitchen only for you, even if it’s a DIY tile project you did on yourself.
The Problem Zone: Tiling Behind Range Hood

This is the number one mistake DIYers make. If you are tiling the standard height everywhere else, you might be tempted to stop the tile at the bottom of the hood. Now, please just listen to me well, please don’t do it. It often looks like you ran out of money or material. When tiling behind range hood, you must take the tile all the way up to the ceiling or at least to the bottom of the crown molding. Why do I share this with you? Because it’s another pro trick to make your kitchen tiles look more professional than you aimed.
| Option | Best For... | Visual Impact | Pro Tip |
|---|---|---|---|
| Standard 4-Inch Backsplash | Strict budgets or very minimalist designs. | Low. Can look basic or unfinished in modern kitchens. | Paint the wall above it with high-quality, washable paint to protect the drywall. |
| Counter to Cabinet Backsplash | Most kitchens (approx. 18 inches high). Defines the workspace clearly. | Medium. A clean, polished look that balances function and style. | Ensure the tile ends exactly in line with the edge of your upper cabinets. |
| Full Height / Ceiling Backsplash | Open shelving, range hoods, or creating a dramatic focal point. | High. Makes ceilings look higher and the room feel custom-designed. | Use large tiles to reduce grout lines, or mosaics to create an "art wall" effect. |
Found the Ideal Backsplash Height? Let’s Apply It!
Your backsplash is more than just a splash guard; it is the most authentic design item in your kitchen. No matter what, if you stick to the standard backsplash height or go for the drama of a counter to ceiling backsplash, the key is deciding how you’ll express yourself on your backsplash. Don't let the height be an afterthought. Let’s find the best natural stone tile option for your brand new kitchen look today! Browse the massive collection of kitchen backsplash tiles at Stone Tile Depot and start your renovation with proper knowledge!
Explore All Backsplash Tiles